| [pending proofread revision] | [pending proofread revision] |
(Page créée avec « To add parts or tools, click on the "Parts and tools" tab, then click on "Search and add a part, tool or material" to deposit your document. ») |
(Page créée avec « Repeat this maneuver to add prerequisite tutorials and/or files. ») |
||
| Line 67: | Line 67: | ||
|Step_Content=To add parts or tools, click on the "Parts and tools" tab, then click on "Search and add a part, tool or material" to deposit your document. | |Step_Content=To add parts or tools, click on the "Parts and tools" tab, then click on "Search and add a part, tool or material" to deposit your document. | ||
| − | + | Repeat this maneuver to add prerequisite tutorials and/or files. | |
{{Info|...Pour les fichiers, vous pouvez également ajouter un lien vers le site sur lequel votre fichier est hébergé en cliquant sur “Ajouter un lien”.}} | {{Info|...Pour les fichiers, vous pouvez également ajouter un lien vers le site sur lequel votre fichier est hébergé en cliquant sur “Ajouter un lien”.}} | ||
Revision as of 12:09, 13 January 2020
Follow this procedure to create a tutorial
Contents
- Prerequisites tutorials
Prerequisites tutorials
Step 1 - Create your tutorial
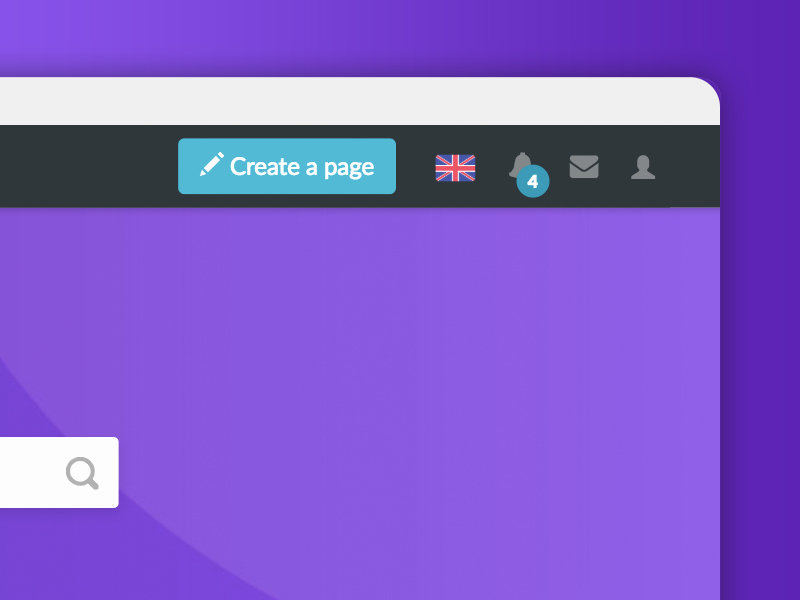
- At the top right of the home page, click on Create a page.
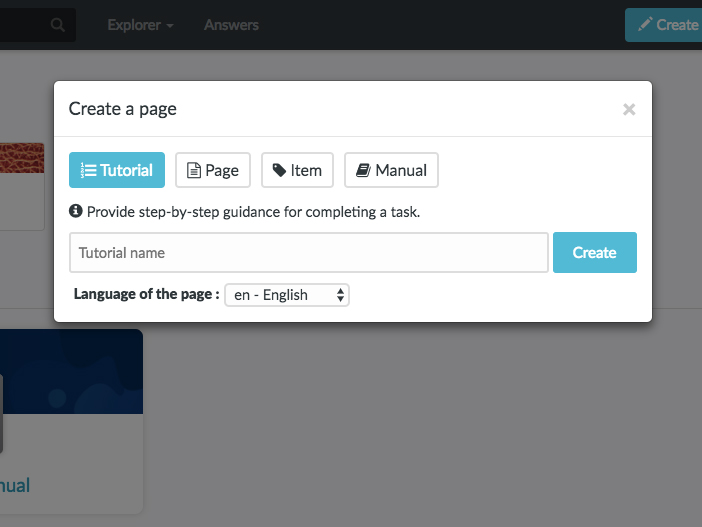
- In the pop-up window that opens, select Tutorial.
- Name the tutorial, then click Create.
Step 2 - Fill in the useful information
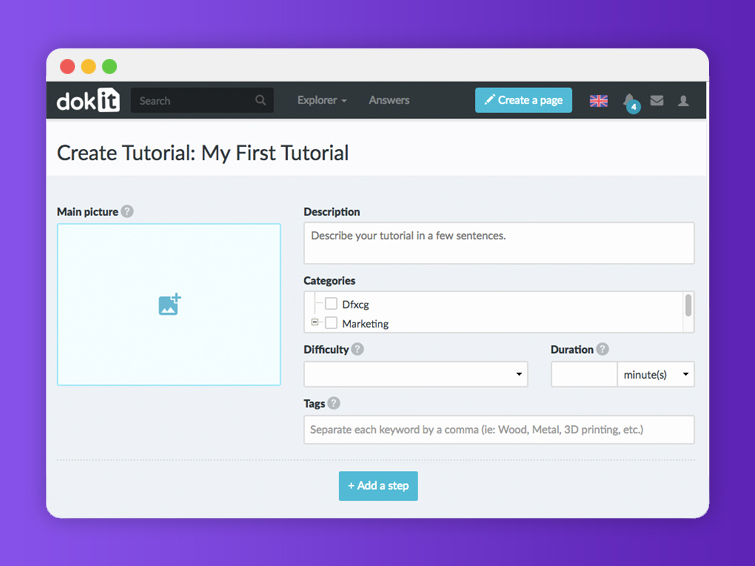
Once the tutorial has been created, fill in the information that will make it easier to find and understand the tutorial.
Description: Write a short presentation of the purpose of the tutorial
Categories:' Specify the categories to which the tutorial relates.
Difficulty:' Indicate the level of difficulty of the tutorial.
Keywords: Enter keywords that will allow users to search for your tutorial more easily.
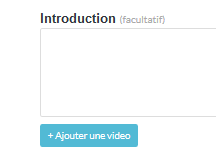
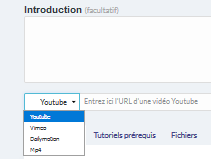
Introduction: Add any preliminary information in this field.
Step 3 - Add the main image
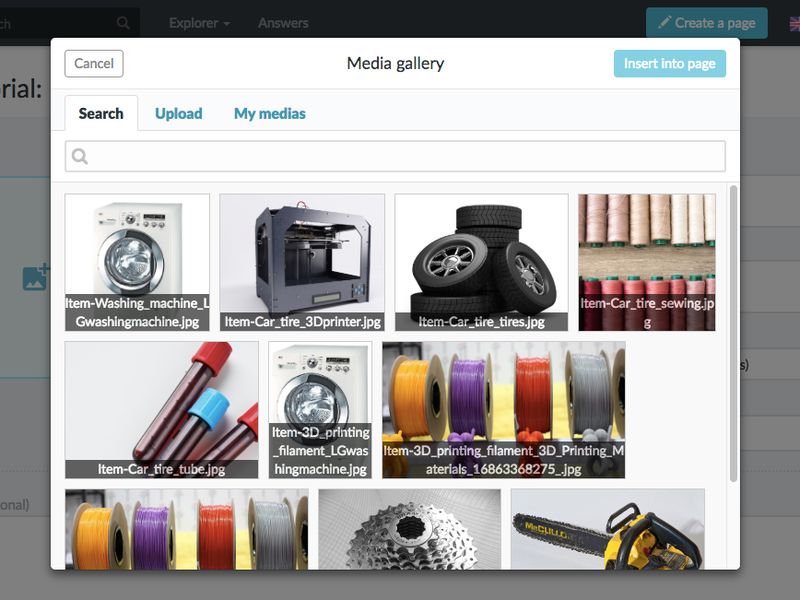
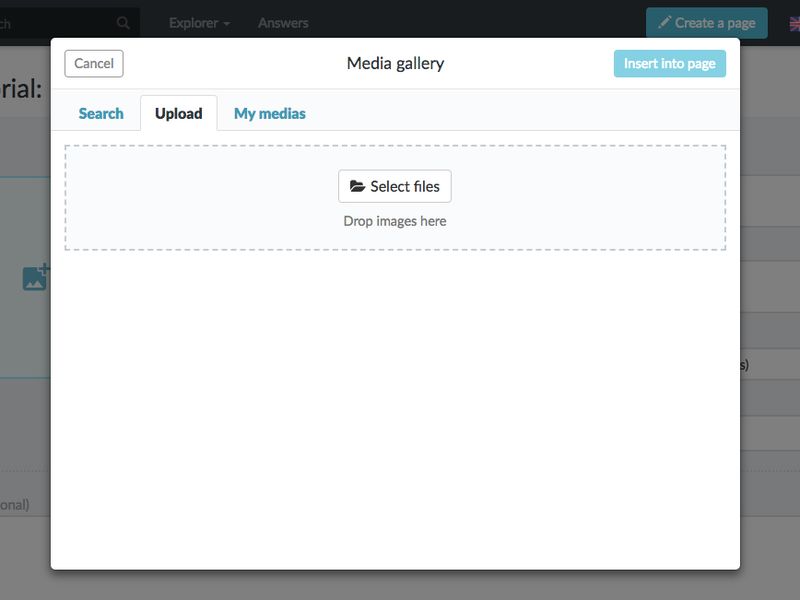
- Click on the blue insert to open the media gallery
- Search for an image on the platform or upload a new image (see Add New Media), then click Insert in the page.
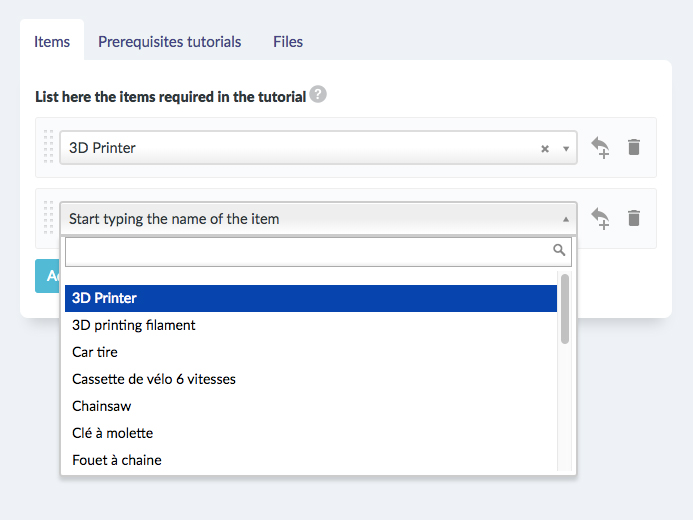
Step 5 - Add a part or tool, a pre-requisite tutorial or a file
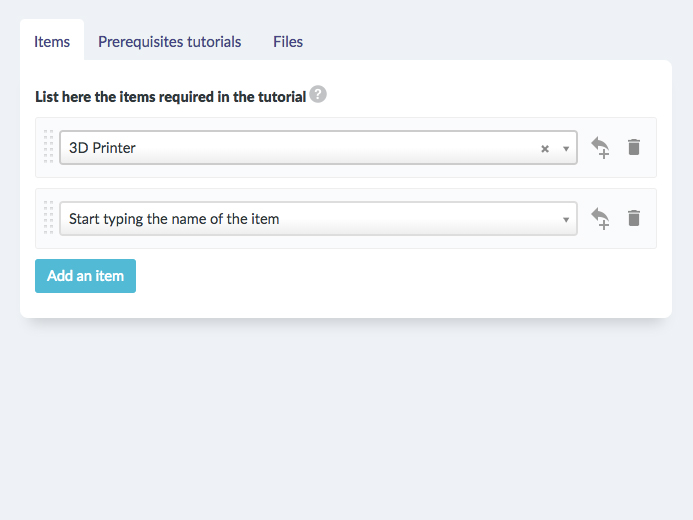
To add parts or tools, click on the "Parts and tools" tab, then click on "Search and add a part, tool or material" to deposit your document.
Repeat this maneuver to add prerequisite tutorials and/or files.
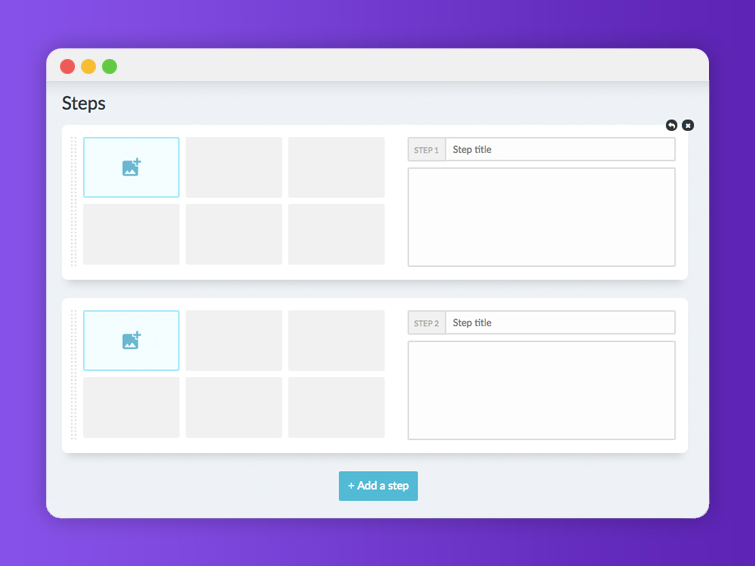
Step 6 - Élaborez des étapes
- Cliquez sur l’encart bleu pour ouvrir la galerie de médias et importer des images
- Attribuez un titre à votre étape dans la barre d’étape
- Ajoutez un bref descriptif pour votre étape dans l’espace situé sous la barre d’étape
- Cliquez sur Ajouter une étape pour compléter le tutoriel avec d’autres étapes
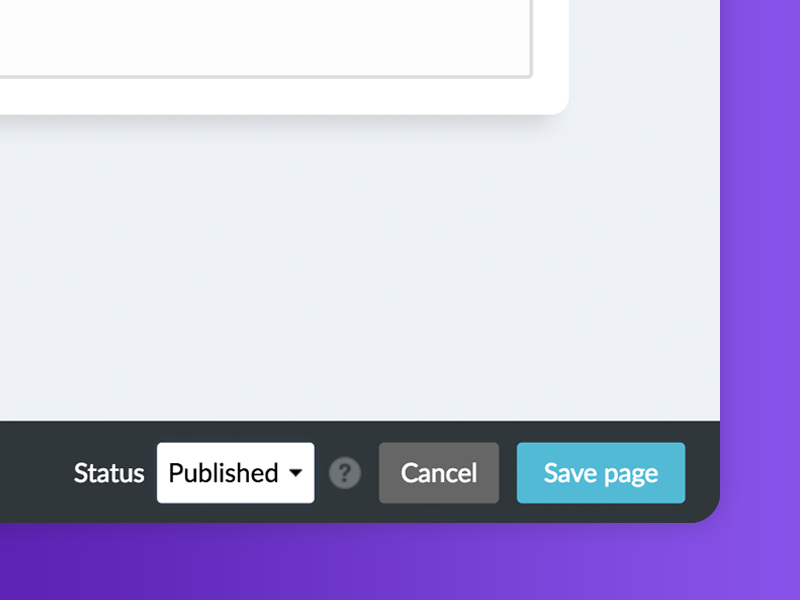
Step 7 - Publiez votre tutoriel
- Sélectionnez le statut du tutoriel:
- Brouillon si vous n’avez pas terminé la rédaction de celui-ci
- Soumettre à la relecture lorsque vous souhaitez soumettre votre tutoriel aux relecteurs avant sa publication sur la plateforme.
- Finalisez la création en cliquant sur Enregistrer.
Published
 Français
 English