| [pending proofread revision] | [pending proofread revision] |
(Page créée avec « * Select the status of the tutorial: - '''Draft''' if you have not finished writing it. ») |
(Page créée avec « - '''Submit for Proofreading''' when you wish to submit your tutorial to the proofreaders before its publication on the platform. * Finalize the creation by clicking '''Sa... ») |
||
| Line 87: | Line 87: | ||
- '''Draft''' if you have not finished writing it. | - '''Draft''' if you have not finished writing it. | ||
| − | - ''' | + | - '''Submit for Proofreading''' when you wish to submit your tutorial to the proofreaders before its publication on the platform. |
| − | * | + | * Finalize the creation by clicking '''Save'''. |
|Step_Picture_00=Créer_un_tutoriel_create-tutorial-06.jpg | |Step_Picture_00=Créer_un_tutoriel_create-tutorial-06.jpg | ||
}} | }} | ||
Latest revision as of 12:11, 13 January 2020
Follow this procedure to create a tutorial
- Prerequisites tutorials
Prerequisites tutorials
Step 1 - Create your tutorial
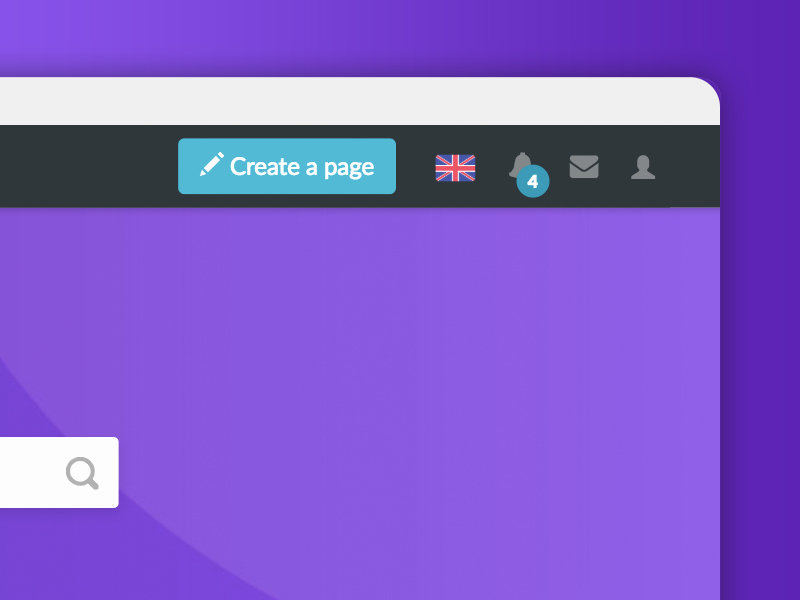
- At the top right of the home page, click on Create a page.
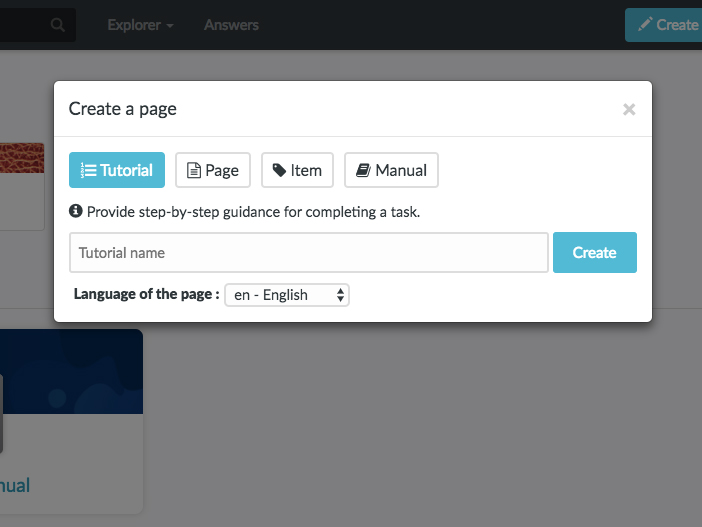
- In the pop-up window that opens, select Tutorial.
- Name the tutorial, then click Create.
Step 2 - Fill in the useful information
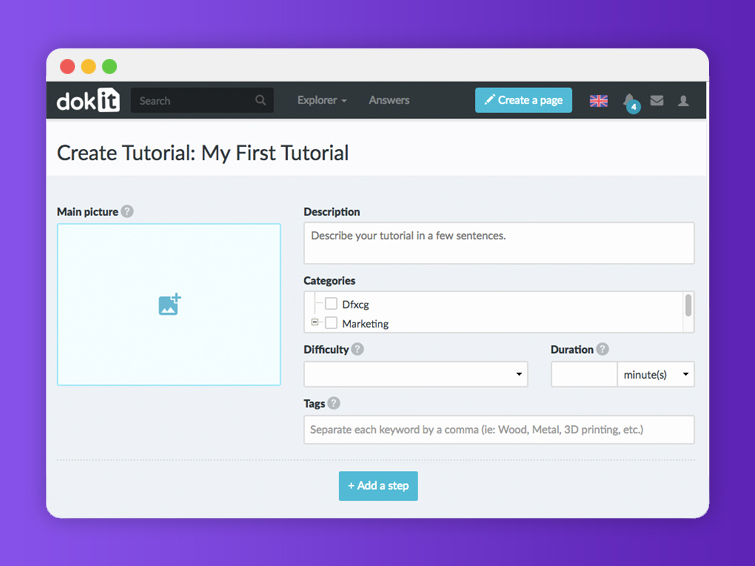
Once the tutorial has been created, fill in the information that will make it easier to find and understand the tutorial.
Description: Write a short presentation of the purpose of the tutorial
Categories:' Specify the categories to which the tutorial relates.
Difficulty:' Indicate the level of difficulty of the tutorial.
Keywords: Enter keywords that will allow users to search for your tutorial more easily.
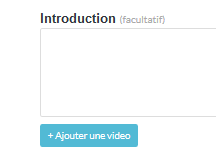
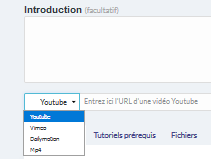
Introduction: Add any preliminary information in this field.
Step 3 - Add the main image
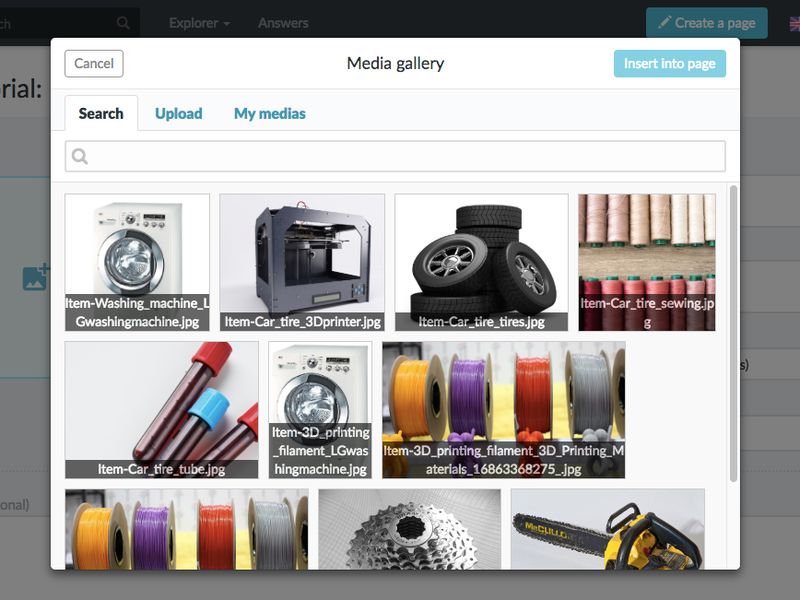
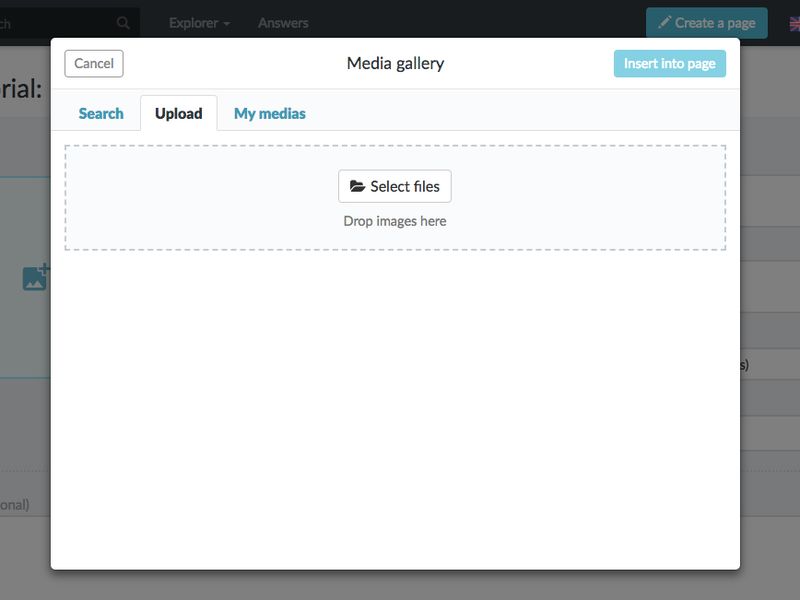
- Click on the blue insert to open the media gallery
- Search for an image on the platform or upload a new image (see Add New Media), then click Insert in the page.
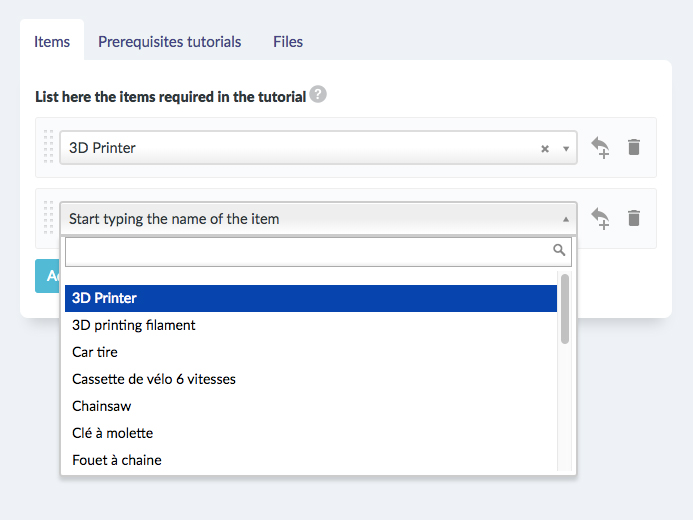
Step 5 - Add a part or tool, a pre-requisite tutorial or a file
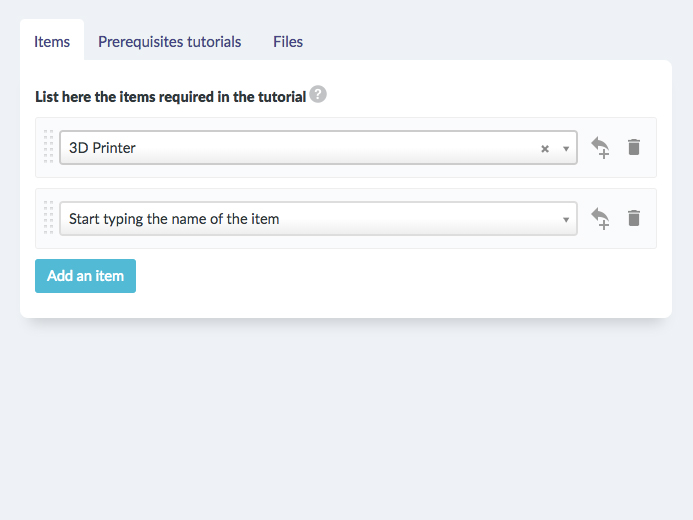
To add parts or tools, click on the "Parts and tools" tab, then click on "Search and add a part, tool or material" to deposit your document.
Repeat this maneuver to add prerequisite tutorials and/or files.
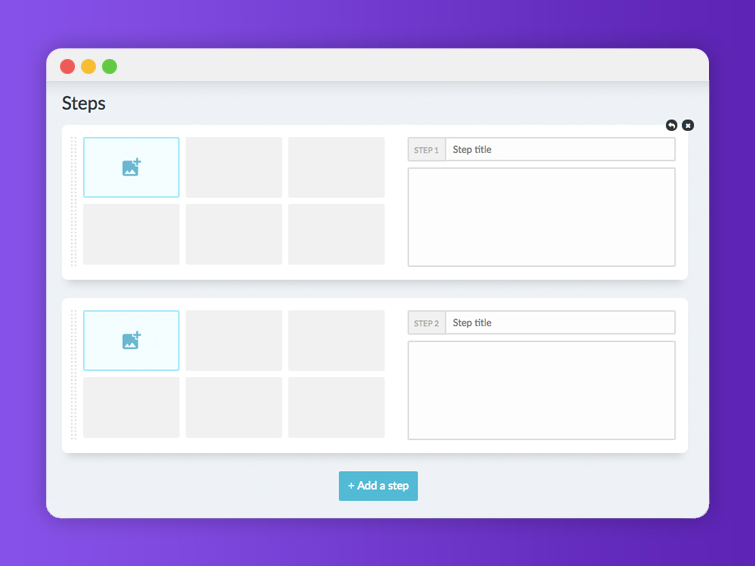
Step 6 - Create steps
- Click on the blue insert to open the media gallery and import images
- Assign a title to your step in the step bar
- Add a brief description for your stage in the space below the stage bar
- Click on Add a step to complete the tutorial with more steps.
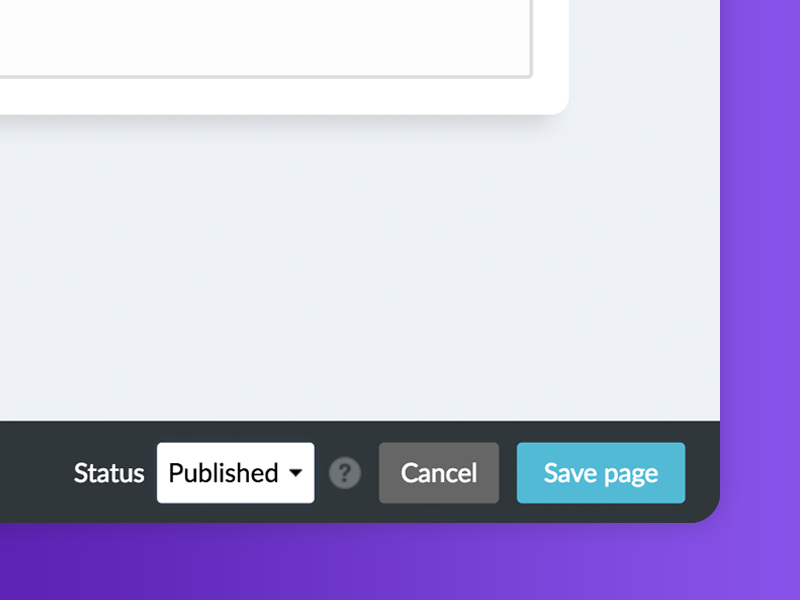
Step 7 - Publish your tutorial
- Select the status of the tutorial:
- Draft if you have not finished writing it.
- Submit for Proofreading when you wish to submit your tutorial to the proofreaders before its publication on the platform.
- Finalize the creation by clicking Save.
Published
 Français
 English