| [pending proofread revision] | [pending proofread revision] |
(Page créée avec « Once the message has been written, click on '''Send.''' ») |
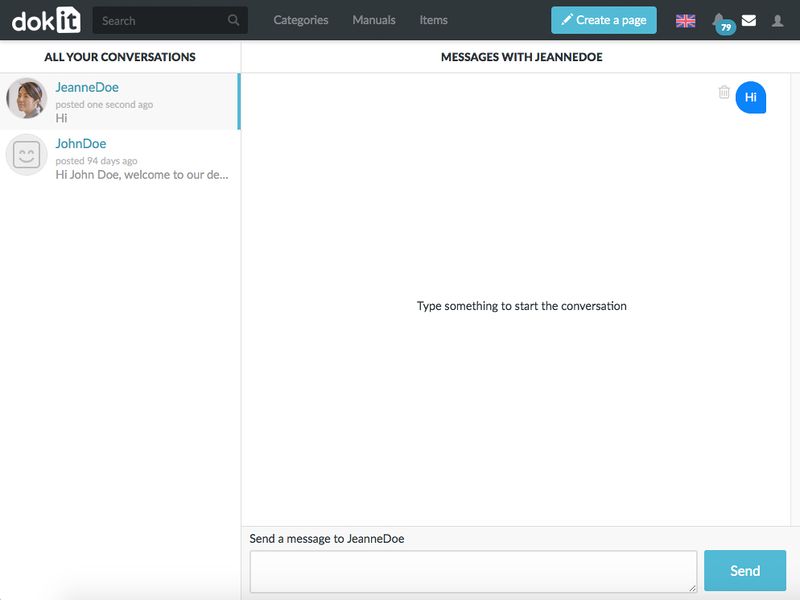
(Page créée avec « {{Info|You can also view all of your previous conversations in the All Your Conversations tab, located on the left side of the message writing page.}} ») |
||
| Line 34: | Line 34: | ||
Once the message has been written, click on '''Send.''' | Once the message has been written, click on '''Send.''' | ||
| − | {{Info| | + | {{Info|You can also view all of your previous conversations in the All Your Conversations tab, located on the left side of the message writing page.}} |
|Step_Picture_00=Soumettre_une_page_à_validation_send-messages-0.jpg | |Step_Picture_00=Soumettre_une_page_à_validation_send-messages-0.jpg | ||
|Step_Picture_01=Soumettre_une_page_à_validation_send-messages-1.jpg | |Step_Picture_01=Soumettre_une_page_à_validation_send-messages-1.jpg | ||
Latest revision as of 12:51, 13 January 2020
Follow this procedure to send a message to the user of your choice.
Difficulty
Easy
Duration
5 minute(s)
- Prerequisites tutorials
Prerequisites tutorials
Step 1 - Access the user's profile
Select a tutorial from the main menu.
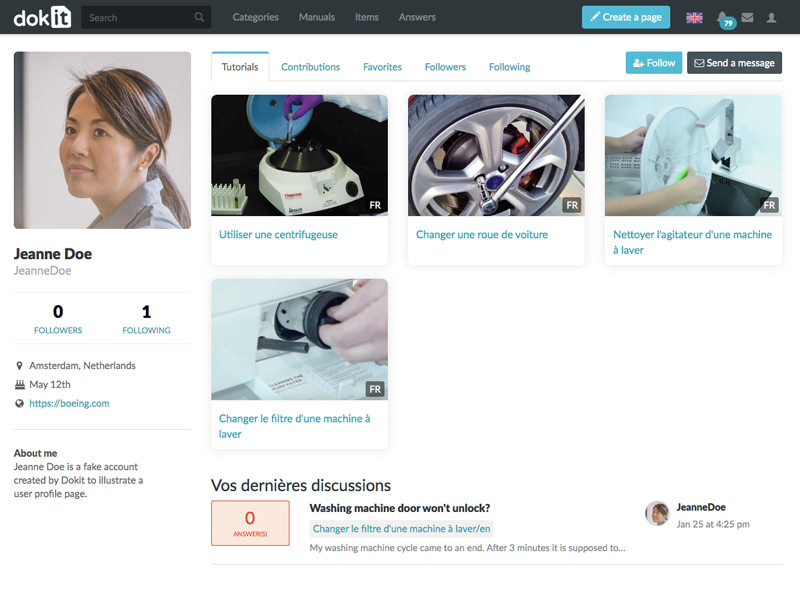
Then click on the name of the author(s) of the tutorial to access their user profile.
Once on the user's profile page, click on Send a message.
Step 2 - Send the message
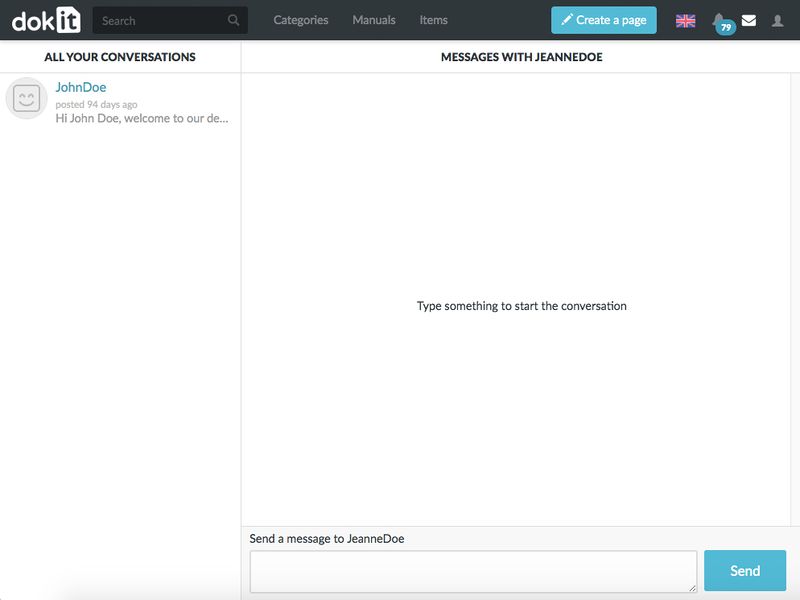
To write a message, click in the text box entitled Send a new message to (located at the bottom of the page).
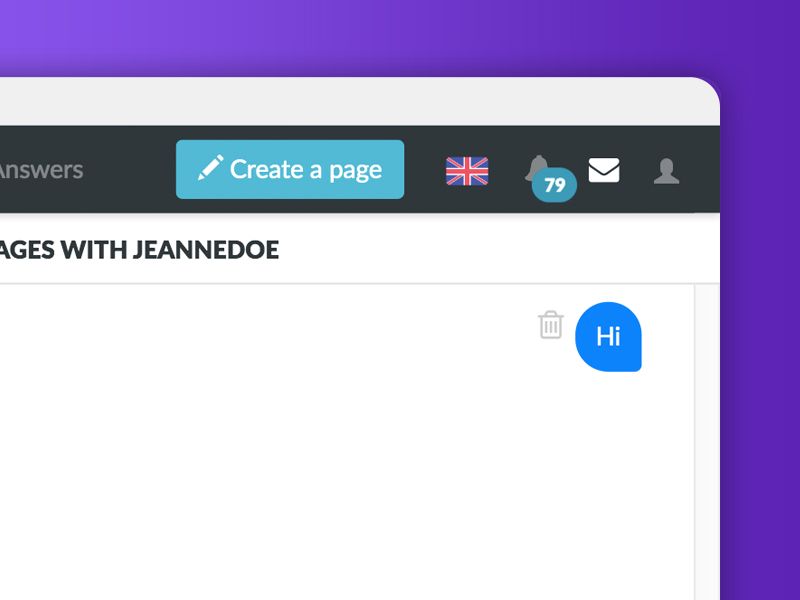
Once the message has been written, click on Send.
Draft


 Français
 English