| [pending revision] | [pending revision] |
(Created page with "Adding custom annotation to your images") |
(Created page with "Custom annotations appear in a new tool in the image editing toolbar. See point (1) in the screenshot opposite.") |
||
| Line 45: | Line 45: | ||
{{Tuto Step | {{Tuto Step | ||
|Step_Title=Adding custom annotation to your images | |Step_Title=Adding custom annotation to your images | ||
| − | |Step_Content= | + | |Step_Content=Custom annotations appear in a new tool in the image editing toolbar. See point (1) in the screenshot opposite. |
Revision as of 13:40, 26 February 2020
Dokit allows you to create custom annotations (i.e. your own annotations to add to your images). Follow this procedure to create and manage your annotations.

Difficulty
Easy
Duration
2 minute(s)
Step 1 - Accessing administration settings
On the home page, click on the avatar icon.
Select Administration from the drop-down menu.
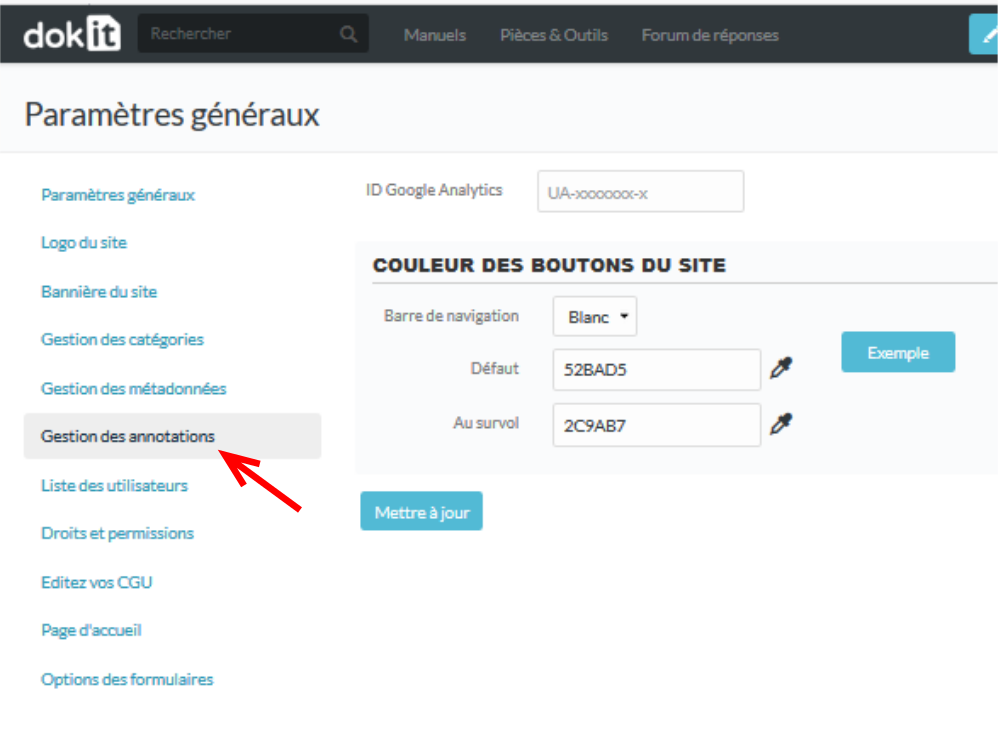
In the general settings menu, select Annotation Management.

Step 2 - Add an annotation
Click on Add an annotation.

Step 3 - Write an annotation
Click on the blue insert to add images.
Select Save to publish the annotation.


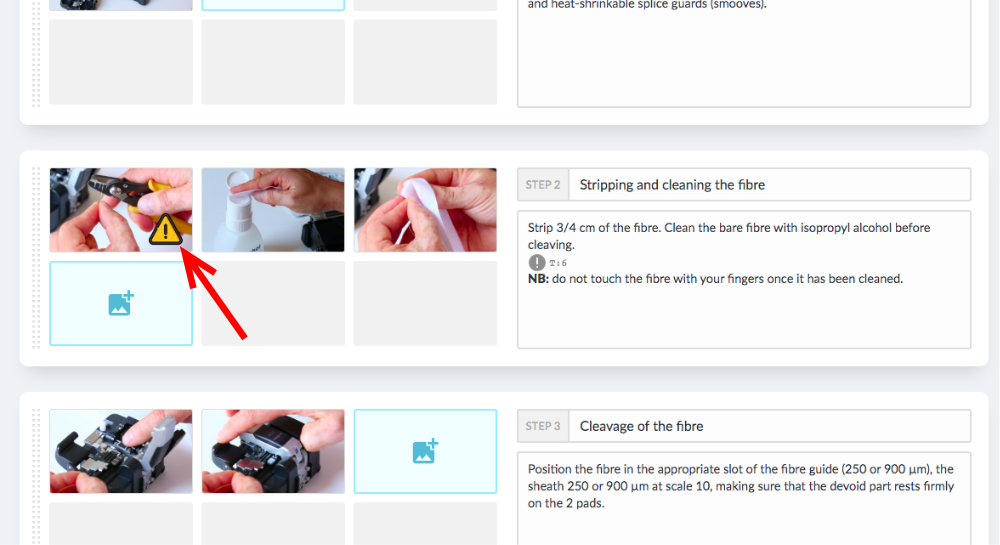
Step 4 - Adding custom annotation to your images
Custom annotations appear in a new tool in the image editing toolbar. See point (1) in the screenshot opposite.
Pour en savoir plus sur comment ajouter une annotation sur une image, rendez-vous sur la page Ajouter des annotations.

Published
 Français
 English