| [pending proofread revision] | [pending proofread revision] |
(Page créée avec « Publish your tutorial ») |
|||
| (One intermediate revision by the same user not shown) | |||
| Line 74: | Line 74: | ||
{{Tuto Step | {{Tuto Step | ||
|Step_Title=Publish your tutorial | |Step_Title=Publish your tutorial | ||
| − | |Step_Content=# | + | |Step_Content=# Select the '''status''' of the page from the drop-down menu at the bottom of the screen: |
| − | * ''' | + | * '''Draft''' if you have not finished writing it. |
| − | * ''' | + | * '''Submit for Proofreading''' when you want to submit your page to reviewers before its publication on the platform. |
| − | + | '''2.''' Finalize the creation by clicking '''Save'''. | |
}} | }} | ||
{{Notes}} | {{Notes}} | ||
Latest revision as of 12:22, 13 January 2020
Follow this procedure to create an item
- Prerequisites tutorials
Prerequisites tutorials
Step 1 - Create an item
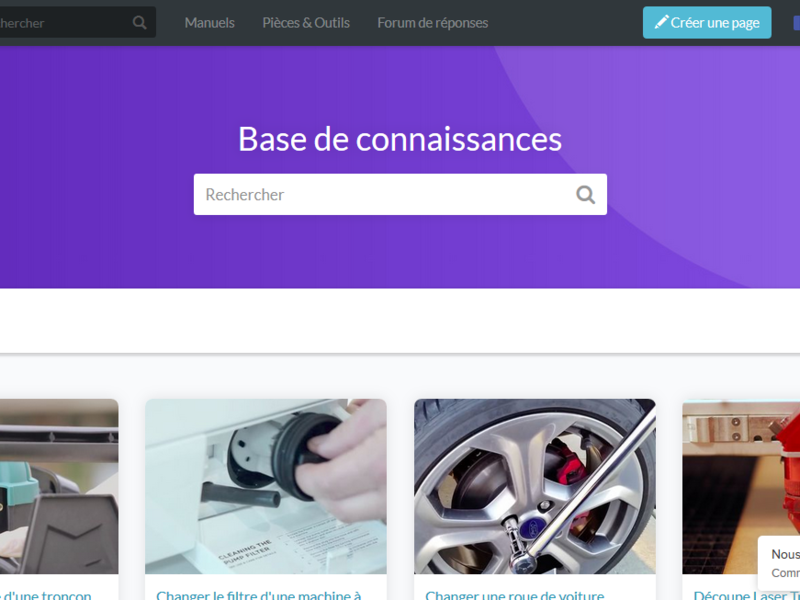
On the home page, click on Create a page.
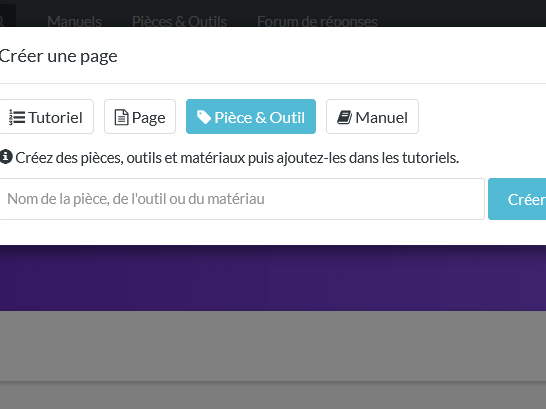
In the window, click on Item Name the object in the field to be completed.
Click on Create.
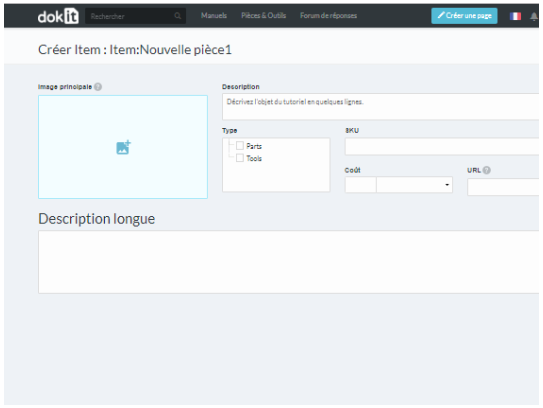
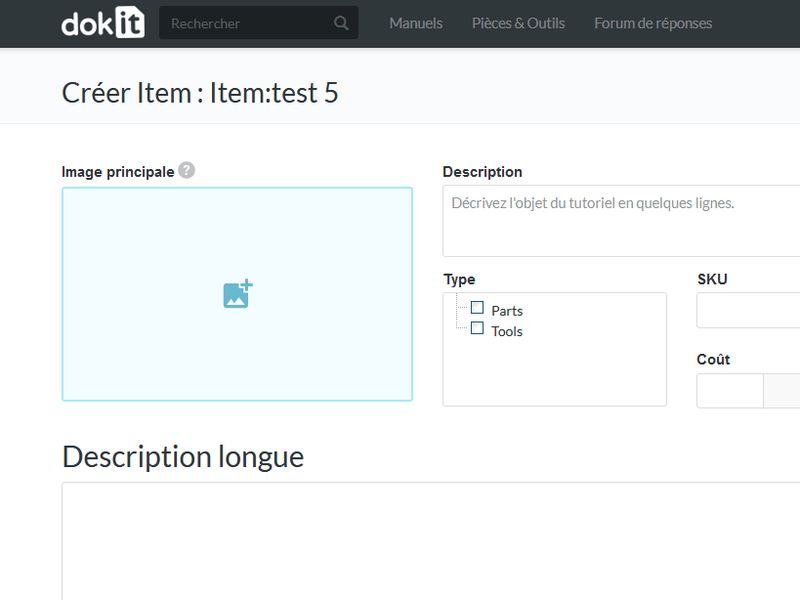
Step 2 - Fill in useful information (product type, SKU, Cost...)
Description: Write a short presentation of the purpose of the item
Type: select the type of product:
- Parts;
- Tools.
SKU: enter the product identification code.
Cost: specify the price of the product (in Euros, Dollars or Pounds Sterling).
URL: Indicate the IP address referring to the source document of the product.
Step 3 - Add the main image
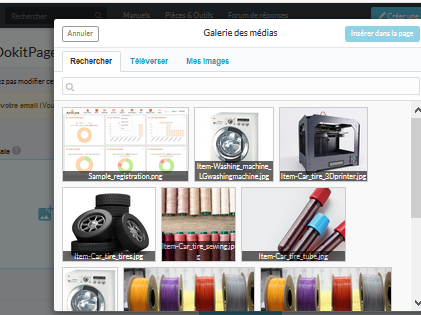
Click on the blue insert to open the media gallery.
A - Download an image from the platform
In the Search tab, select an image.
Click on Insert in page to publish the image.
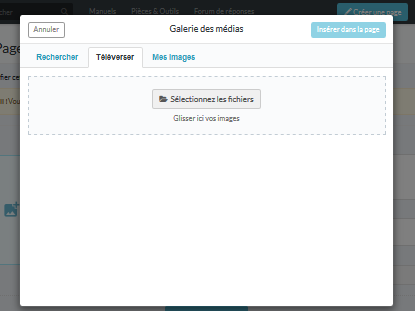
B- Upload a picture from your computer.
Select the Upload tab in the pop-up window.
Click Select Files to search for an image on your computer.
Finalize your download by clicking on Insert in page.
Step 4 - Publish your tutorial
- Select the status of the page from the drop-down menu at the bottom of the screen:
- Draft if you have not finished writing it.
- Submit for Proofreading when you want to submit your page to reviewers before its publication on the platform.
2. Finalize the creation by clicking Save.
Published
 Français
 English