| [pending proofread revision] | [pending proofread revision] |
(Page créée avec « Once the image is resized click on ''Crop''. ») |
(Page créée avec « {{Info|You can also change the size of your images using the 1:1, 4:3 and 16:9 formats available in the image editing interface.}} ») |
||
| Line 39: | Line 39: | ||
Once the image is resized click on ''Crop''. | Once the image is resized click on ''Crop''. | ||
| − | {{Info| | + | {{Info|You can also change the size of your images using the 1:1, 4:3 and 16:9 formats available in the image editing interface.}} |
|Step_Picture_00=Redimensionner_une_image_annotate-0.jpg | |Step_Picture_00=Redimensionner_une_image_annotate-0.jpg | ||
}} | }} | ||
Latest revision as of 13:31, 13 January 2020
Follow this procedure to crop an image
Difficulty
Easy
Duration
2 minute(s)
Step 1 - Accessing the image editing interface
Select the tutorial for which an image needs to be resized.
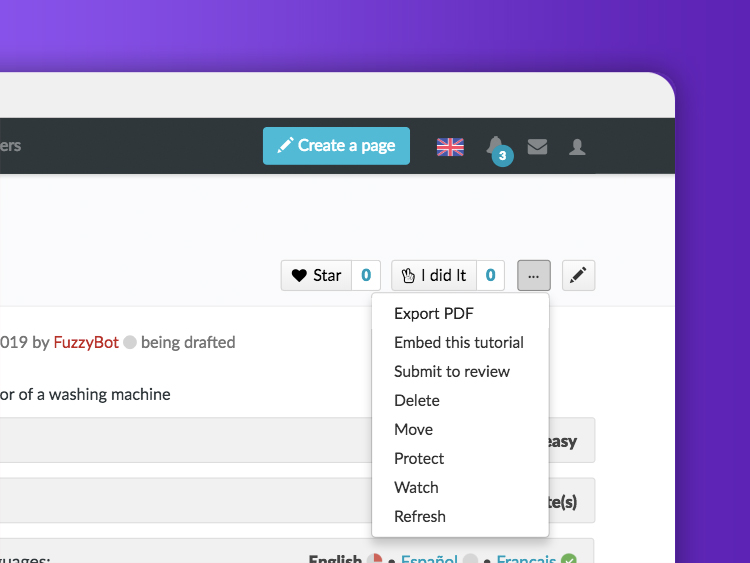
In the selected tutorial, click on the right side of the screen on the pencil icon to edit the tutorial.
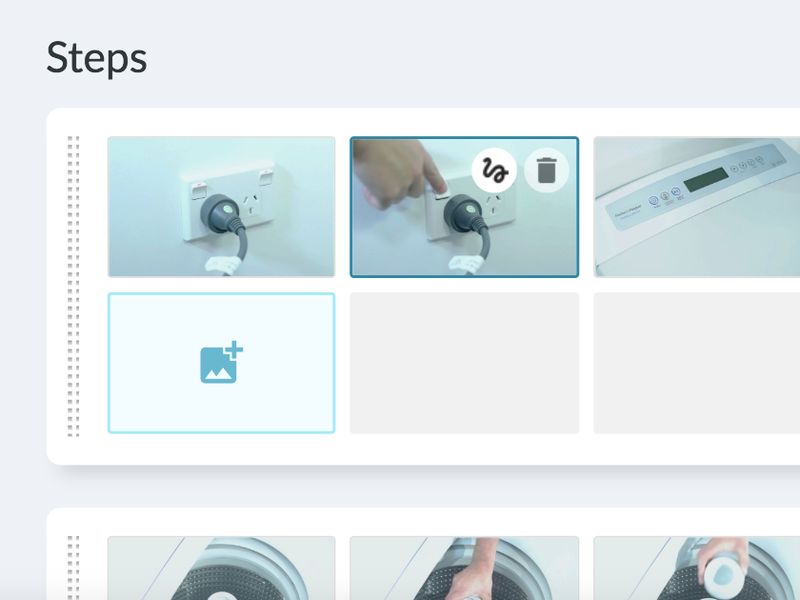
Click on the image to be modified :
2 icons appear in the upper right corner of the image.
Select the icon on the left to open the editing interface for images.
Step 2 - Crop an image
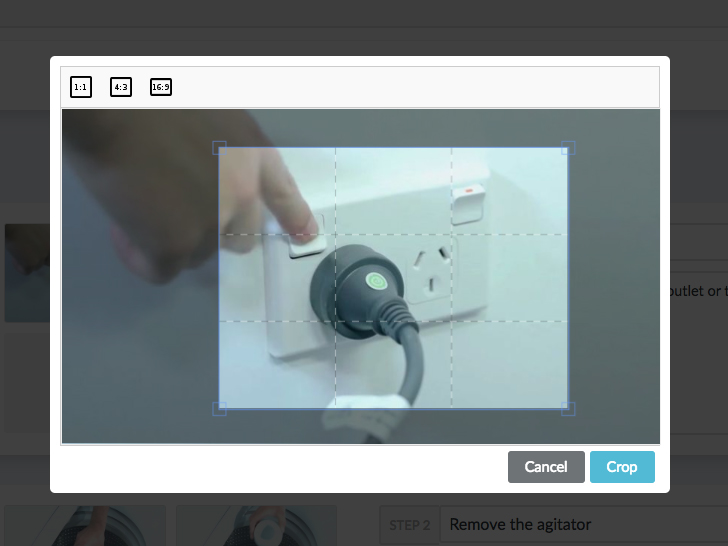
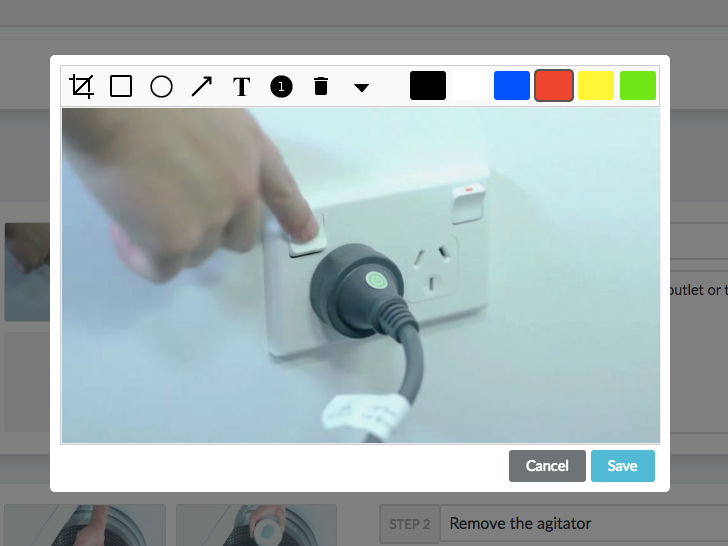
Click on the crop icon on the left, to resize the image.
Click on the thinned area (which delimits the frame of the image) and hold down the mouse to direct the area onto the image.
To enlarge or reduce the size of the image, click on the corners and adjust the size by holding down the mouse.
Once the image is resized click on Crop.
Published


 Français
 English