| [pending proofread revision] | [pending proofread revision] |
(Page créée avec « In the general settings menu, select '''Annotation Management'''. ») |
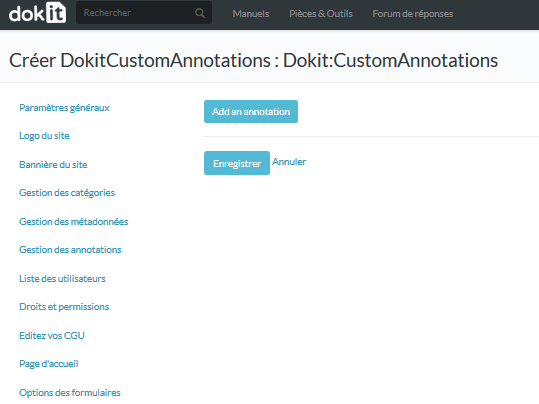
(Page créée avec « Add an annotation ») |
||
| Line 26: | Line 26: | ||
}} | }} | ||
{{Tuto Step | {{Tuto Step | ||
| − | |Step_Title= | + | |Step_Title=Add an annotation |
|Step_Content=Cliquez sur '''''Add an annotation''''' (Ajouter une annotation). | |Step_Content=Cliquez sur '''''Add an annotation''''' (Ajouter une annotation). | ||
|Step_Picture_00=Gérer_les_annotations_Capture_annotations1.PNG | |Step_Picture_00=Gérer_les_annotations_Capture_annotations1.PNG | ||
Revision as of 13:28, 13 January 2020
Follow this procedure to manage annotations.
Difficulty
Easy
Duration
10 minute(s)
Step 1 - Accessing administration settings
On the home page, click on the avatar icon.
Select Administration from the drop-down menu.
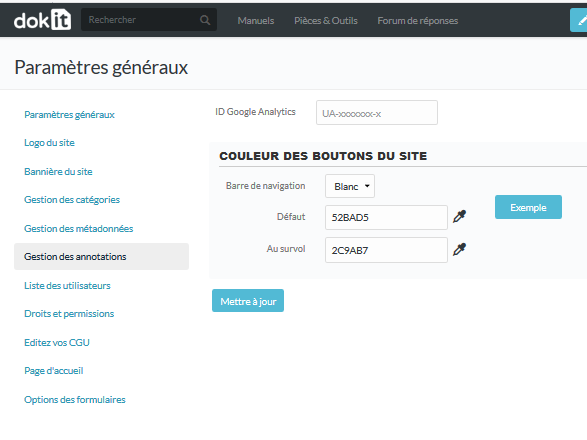
In the general settings menu, select Annotation Management.
Step 3 - Rédiger une annotation
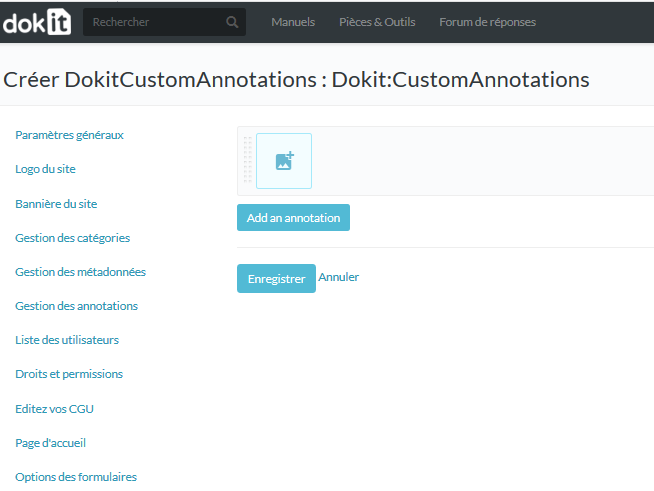
Cliquez surl’encart bleupour ajouter des images.
Sélectionnez Enregistrer pour publier l’annotation.
Published


 Français
 English